HDRI Light Studio
Stop hunting for the perfect HDRI — build it. Light Studio is a full equirectangular lighting editor where you paint softboxes, strips, and rings directly onto your piece while the viewport renders live.
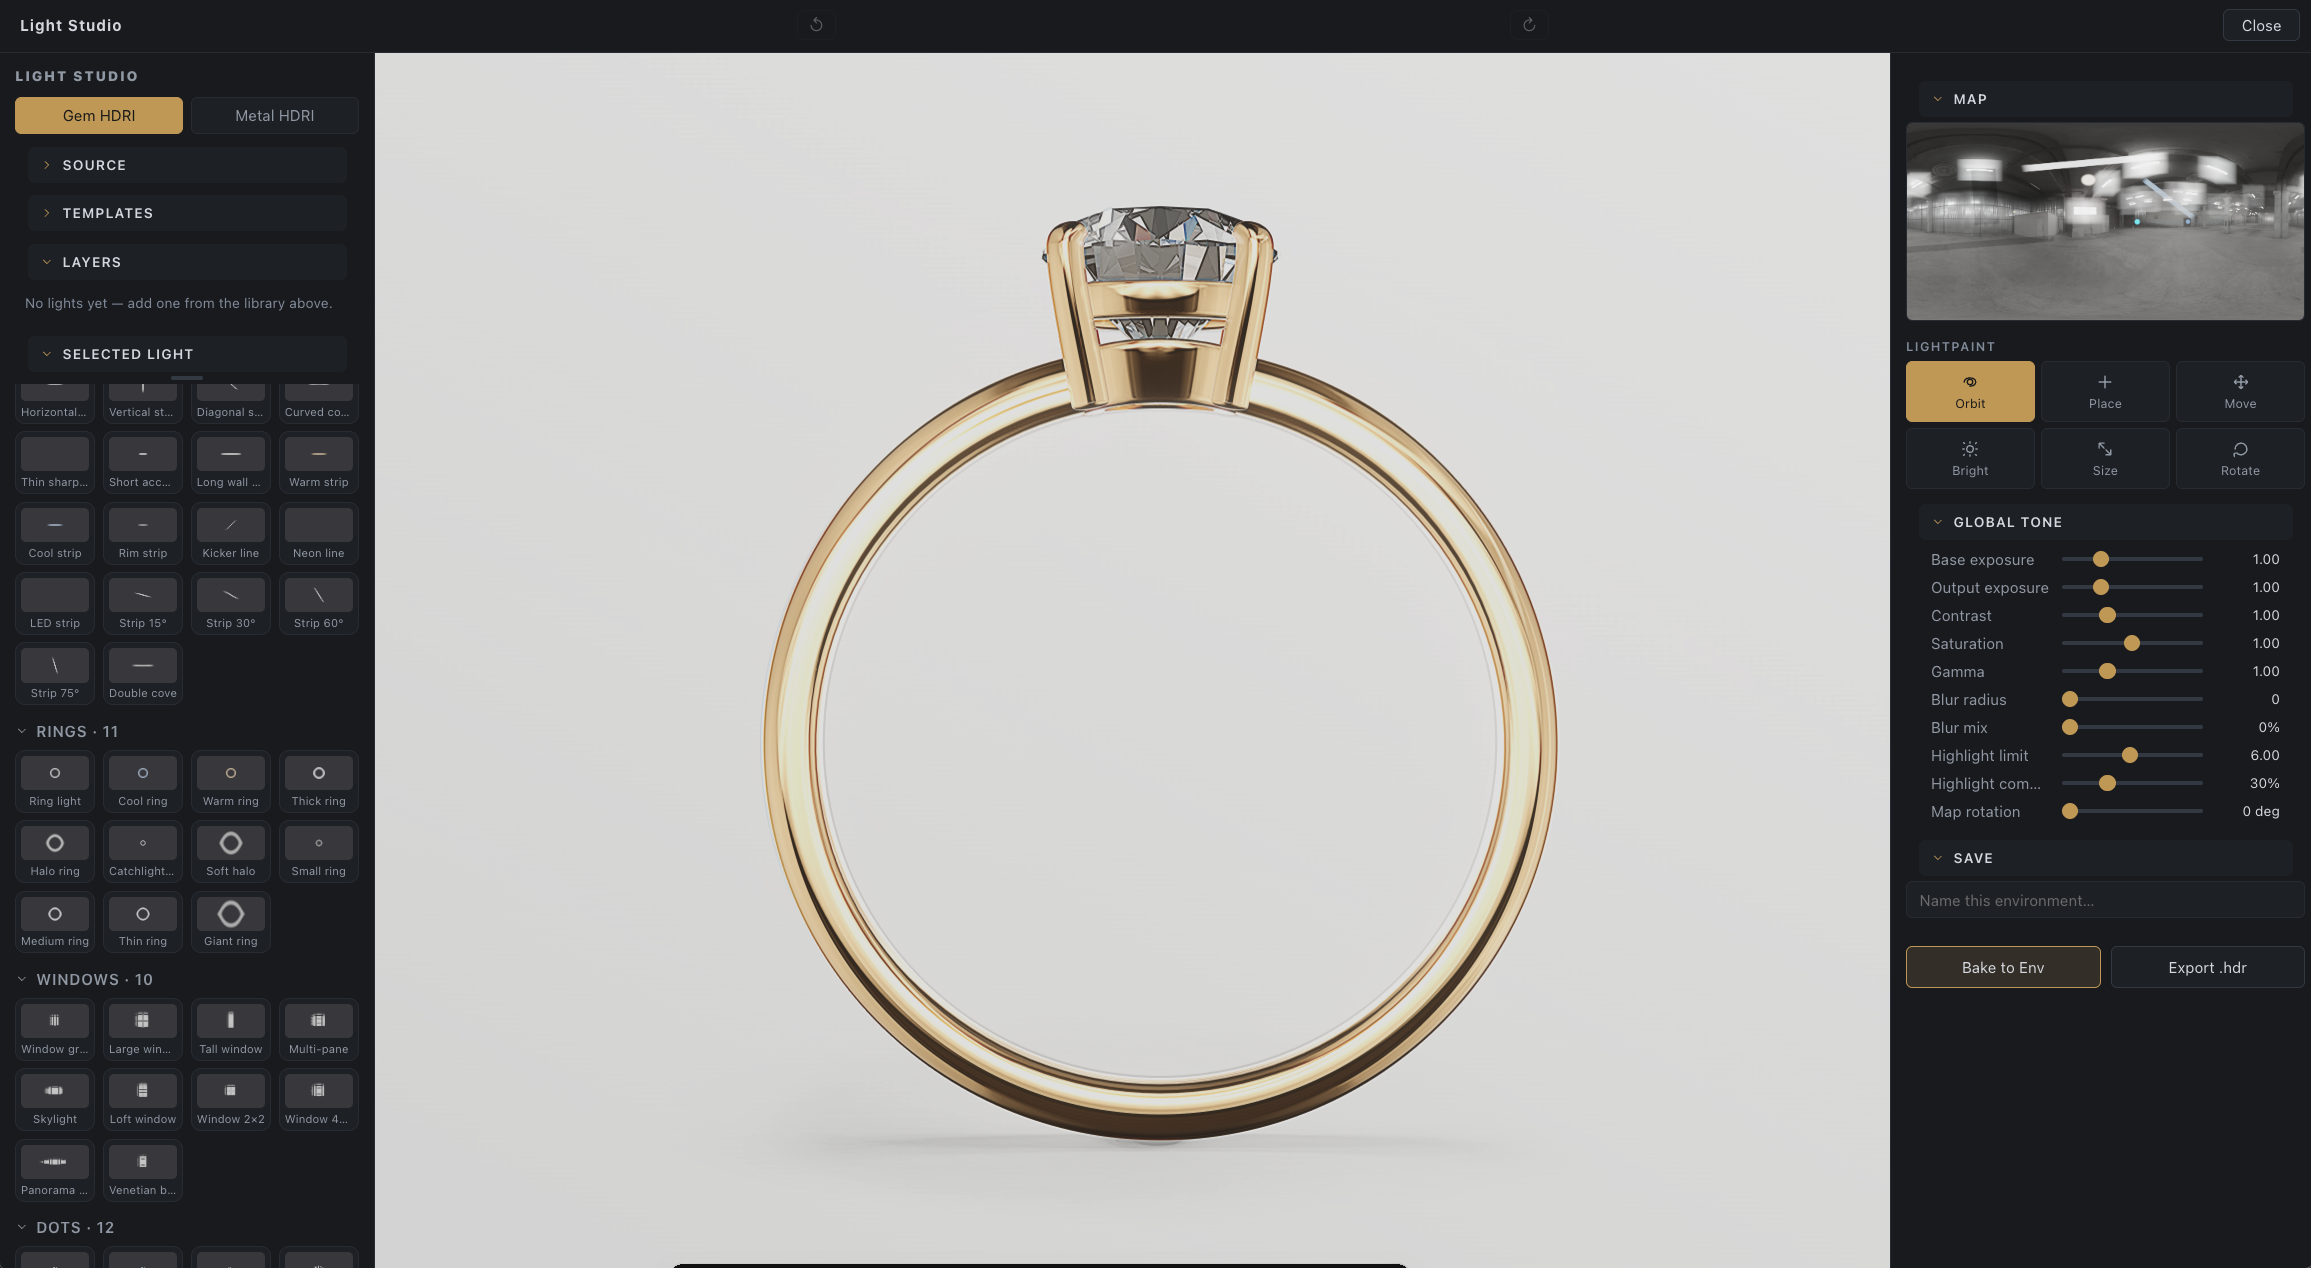
Open it from the Env tab: Light Studio ▸ Open Light Studio. The overlay replaces the normal docks; Close brings them back. Your work stays live for the whole session; save a template to keep it beyond that.
Gem and metal documents
Light Studio edits two independent documents — one for the gem environment, one for the metal — switched by the Gem HDRI / Metal HDRI buttons at the top. Each keeps its own base, tone, and light layers, mirroring the studio's two-slot lighting. The first time you open a target, it seeds itself from whatever that slot is currently wearing.
The base
The Source section picks what your lights composite over:
- Blank studio — a clean neutral base; the "start from black" of lighting.
- Any built-in HDRI — searchable catalog for the active target.
- Your imported .hdr — import from the Env panel first, then it seeds or serves as base.
The light library
125 presets across softboxes, strips, rings, windows, sparkle-dot fields, cutters (negative fill), gradients, beauty dishes, octaboxes, umbrellas, reflectors, and fresnels. Click one and it lands as an editable layer, ready to reshape; or drag it onto the model and it places itself at the exact reflection point.
LightPaint
The tools along the viewport paint light through the piece:
| Tool | Drag behaviour |
|---|---|
| Place | Click the model — the armed preset is created at the spot whose reflection hits your click. |
| Move | Slide the selected light by dragging over the surface; the reflection follows your pointer. |
| Bright | Drag up/down for intensity. |
| Size | Drag up/down to grow or shrink. |
| Rotate | Drag left/right to spin the light. |
Hold Shift at any time to orbit without leaving your tool; hold ⌘ when starting a drag to duplicate the light first and edit the copy.
Layers
The stack lists lights topmost-first, with visibility, ordering, duplicate, and delete per row. The Selected light editor exposes everything: name, color, blend mode (add / screen / replace / multiply — cutters multiply), intensity, opacity, width/height in degrees, softness, rotation, plus shape-specific extras (strip curve, grid columns/rows, dot count/seed/jitter).
The Map section shows the composed HDRI with a pin per light — click a pin to select, drag it to move that light directly on the map.
Global tone
Finishing controls over the whole map: base and output exposure, contrast, saturation, gamma, blur (radius + mix), highlight limit and compression, and map rotation — LightPaint stays accurate under rotation.
Undo
Light Studio has its own history — the ↺/↻ buttons in its top bar, and ⌘Z/⇧⌘Z route to it while it's open. Selecting layers never costs an undo step; edits do.
Keep your work
Two different kinds of saving:
- Templates — the editable document (base, tone, layers, names). Reload one later and keep designing. This is the way to preserve a look across sessions.
- Bake to Env — renders the finished HDRI into your custom environment list (then click it in the Env panel to wear it). Export .hdr downloads a full-resolution Radiance file for use anywhere.
Baking produces pixels; templates preserve intent. Save a template and bake when a look is final.